

With the help of a silhouette cutter or special heat transfer paper, you can now print a T-shirt yourself at home in a few steps. In this article, we would like to introduce how to use transfer paper to do dye sublimation printing for your DIY T-shirt. All the silhouette vectors we used are from silhouetteAC, a free stock silhouette vectors site from ACworks.
What to prepare beforehand:
- Silhouette vectors from silhouetteAC
- Light transfer paper for white T-shirts
- Dark transfer paper for darker T-shirts
- An inkjet printer, an iron, scissors and a a T-shirt of course
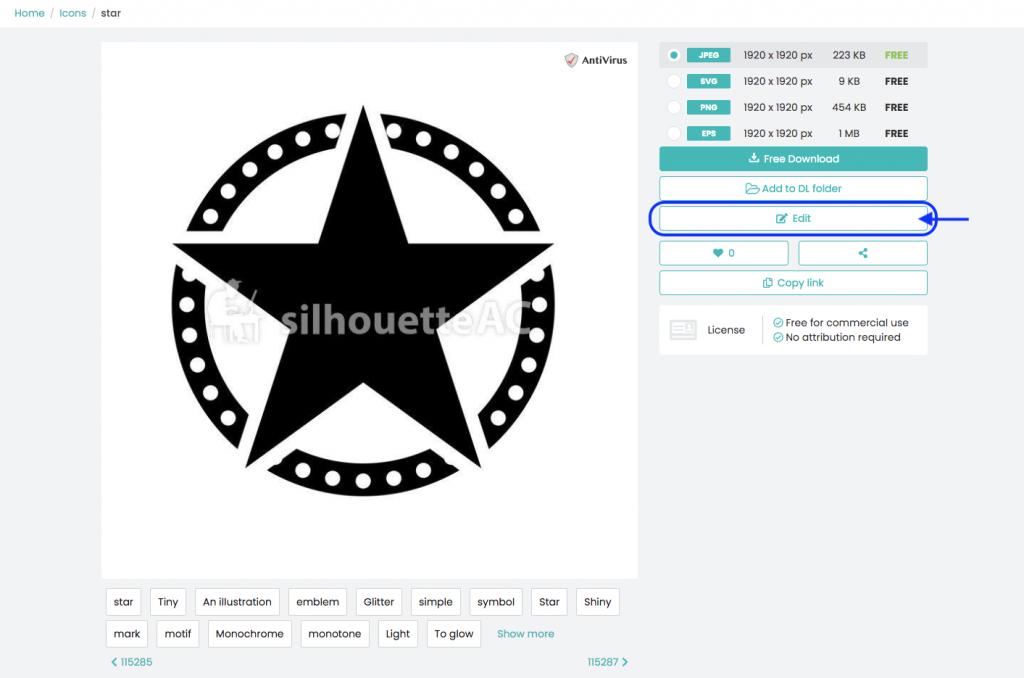
1. First, you can prepare a design yourself or you can access silhouetteAC to find an image that fits your wish.


2. Edit and print the design:
Open the design with Adobe Illustrator to change the color if you like. You can also click on the button Edit on silhouetteAC and edit the silhouette image on editorAC.
After editing, choose the right type of transfer paper for your T-shirt, light type for white and dark type for darker color T-shirt.
3. Cut out the image and print the image on your T-shirt:
Since the paper that isn’t cut out will show up as a thin film on the T-shirt, so make sure to cut out the image nice and clear to your purposes.
After cutting out the image, lay your T-shirt on a hard, flat and clean surface.
Put the image paper on the T-shirt. For light paper, face your image down. For dark paper, face it up.
Now, when everything’s ready, iron the image onto your T-shirt. Depending on the type of paper, ironing time will vary.
For more information you can click here.


silhouetteAC – ACworks